Custom metal badges—also known as lapel pins—are widely used for branding, corporate recognition, events, clubs, and promotional merchandise. Understanding the badge customization process helps businesses and organizations create high-quality products that accurately represent their brand or message.
In this guide, we will walk through the complete badge customization process, from the initial idea to the final delivery.
The first step in badge customization is defining your concept. This usually includes:
Logo, artwork, or brand elements
Preferred badge shape and size
Color requirements
Text, slogans, or symbols
Intended usage (events, promotions, awards, etc.)
Most manufacturers accept design files such as AI, PSD, PDF, or high-resolution PNG/JPG. If you only have a simple idea or sketch, professional designers can help convert it into a production-ready design.
A clear design concept ensures that the final badge will match your expectations.
2. Material and Process Selection
Once the design is confirmed, the next step is choosing the appropriate materials and manufacturing techniques. Common badge materials include:
Zinc alloy
Iron
Brass
Stainless steel
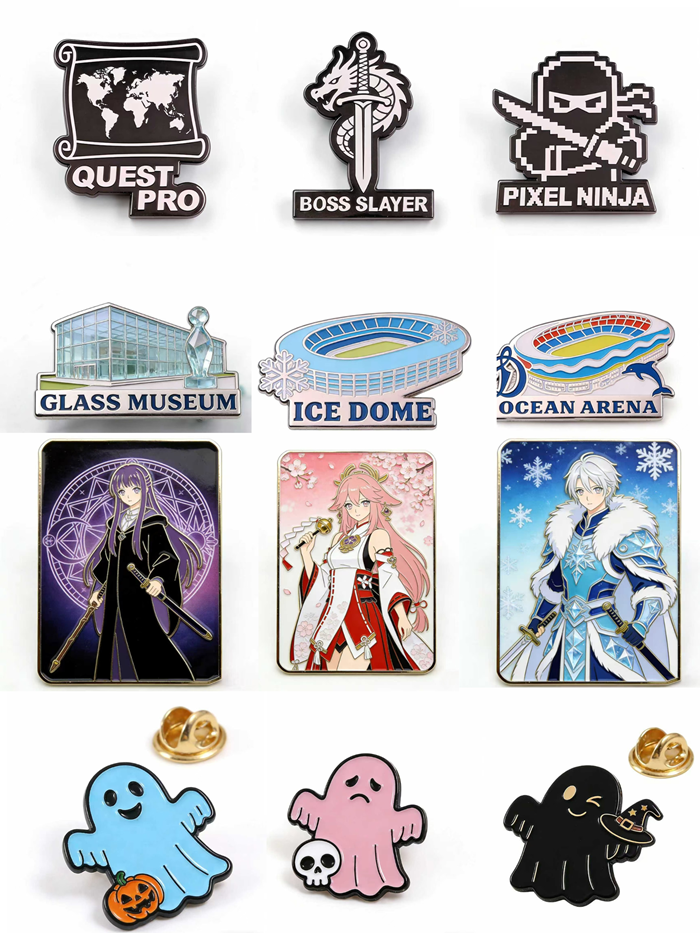
Popular production techniques include:
Soft Enamel Pins One of the most common and cost-effective options. The recessed metal lines create a textured surface.
Hard Enamel Pins A premium option with a smooth and polished finish, often used for corporate or commemorative badges.
Die-Struck Badges Features a classic metal look without color, ideal for elegant or vintage designs.
Selecting the right process affects the badge’s appearance, durability, and price.
3. Quotation and Artwork Confirmation
After reviewing the design and specifications, the manufacturer will provide a quotation. The quote typically depends on several factors:
Badge size
Number of colors
Material and plating
Production process
Order quantity
At this stage, the manufacturer will also create a digital artwork proof showing how the final badge will look. Customers review the proof and request revisions if necessary before production begins.
This step ensures both parties clearly understand the final product.
4. Mold Creation and Sampling
Once the artwork is approved, the manufacturer creates a custom mold for the badge. The mold is essential for shaping the metal during production.
Many clients choose to produce a sample badge before mass production. Sampling allows you to check:
Color accuracy
Size and thickness
Surface finish
Overall quality
If adjustments are needed, they can be made before the full order is produced.
5. Mass Production
After the sample is approved, the order moves into mass production. The typical production stages include:
Die casting or stamping
Polishing and surface finishing
Coloring (enamel filling or plating)
Baking or curing
Quality inspection
Professional manufacturers implement strict quality control during this stage to ensure every badge meets the required standards.
6. Packaging and Shipping
Once production is complete, badges are carefully inspected and packaged. Common packaging options include:
Individual poly bags
Backing cards
Gift boxes
Custom retail packaging
The finished products are then shipped via air freight, sea freight, or express courier depending on delivery time and budget.
Why Custom Badges Are Popular
Custom badges offer several advantages:
Strong brand visibility
Affordable promotional products
Highly customizable designs
Durable and collectible items
They are commonly used by companies, sports teams, schools, charities, and event organizers worldwide.
Start Your Custom Badge Project Today
If you are planning to create custom badges for your brand, event, or organization, working with an experienced manufacturer will ensure the best results. From professional design support to strict quality control, a reliable supplier can guide you through every step of the customization process.
Producing high-quality custom metal badges requires a tightly coordinated sequence of steps. After design approval, our engineering team creates the steel tooling (mold) using CNC machining — a process that takes 3–5 business days. The mold is then mounted on a precision stamping press operating at 30–60 tons of force, depending on the metal thickness. Each blank is struck under controlled pressure to capture the design details at sub-millimeter precision. After stamping, the pieces undergo deburring, polishing, and pre-plating cleaning to remove any oxidation. Plating (gold, silver, nickel, antique, or rose gold) is applied in successive baths under controlled current and temperature for consistent color and corrosion resistance.
For enamel-filled designs, each color is filled by hand under magnification using needle-tip syringes — a process called soft enamel filling. After filling, the pieces are baked at 180–220°C to cure the enamel and lock the color. Hard enamel pieces undergo an additional grinding and polishing step to create a flat, jewelry-like surface flush with the metal lines. Photo-etched designs use a chemical milling process that creates thinner, more detailed pieces ideal for ultra-fine artwork.
Material Selection Guide
Material choice directly affects the look, feel, weight, and price of your finished product. Zinc alloy is the most popular choice — offering excellent detail reproduction, good plating adhesion, and competitive pricing at scale. Brass provides a premium weight and warmer color tone, ideal for luxury collectibles and corporate awards. Stainless steel offers superior durability and corrosion resistance — recommended for outdoor or marine use. Copper develops a distinctive patina over time, prized in antique-style designs. Iron is the most economical option for very large bulk orders where weight and refined detail are less critical.
Quality Control Standards
Every batch we produce passes through a four-stage QC process: (1) In-process inspection — every 100 pieces during stamping, comparing against the master sample for dimensional accuracy and pattern alignment; (2) Plating QC — visual and tape-pull tests to verify plating uniformity and adhesion; (3) Color QC — Pantone color matching under standardized D65 daylight conditions, with a tolerance threshold of ΔE ≤ 2.0 for premium orders; (4) Final inspection — 100% visual inspection plus sampling for weight, attachment strength, and packaging integrity. Defective pieces are removed before shipment.
Pricing Reference & Minimum Order Quantity
Our standard minimum order quantity (MOQ) for custom metal badges is 300–500 pieces per design. Pricing varies based on size, thickness, plating, enamel colors, attachment type, and packaging — typical price ranges are USD $0.30–$3.00 per piece in bulk. Sample fees of USD $20–$80 are refundable against the bulk order. Rush production (50% lead time reduction) is available for an additional 20–30% fee.
TODO (Business team to complete): Insert actual pricing tier table for custom metal badges (size × material × quantity matrix) with current 2026 rates. Confirm sample fees and rush production surcharges with sales team.
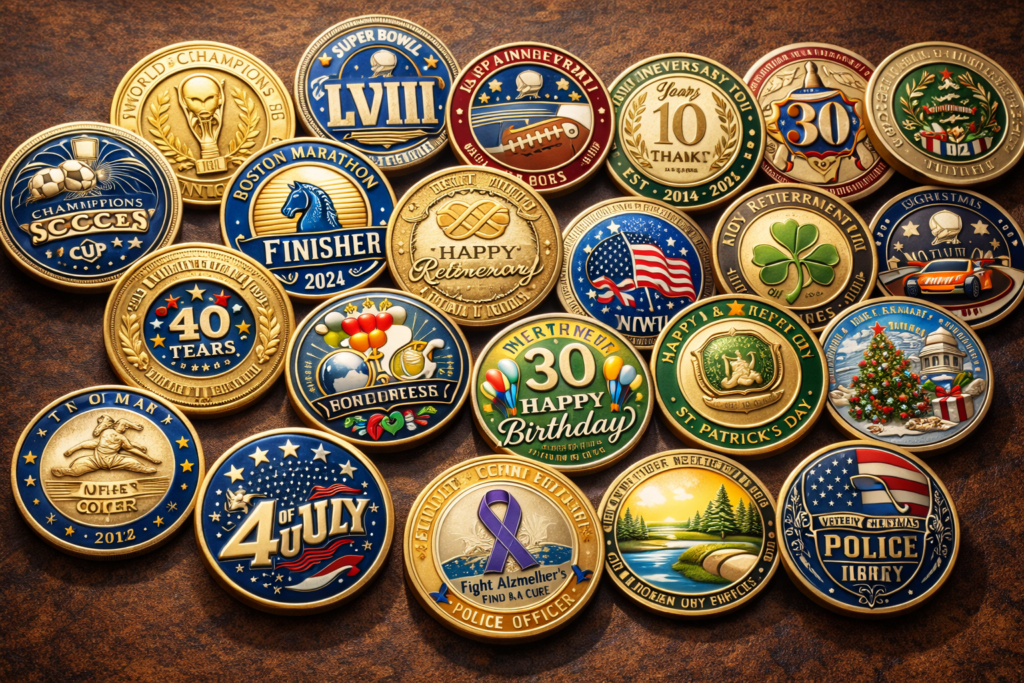
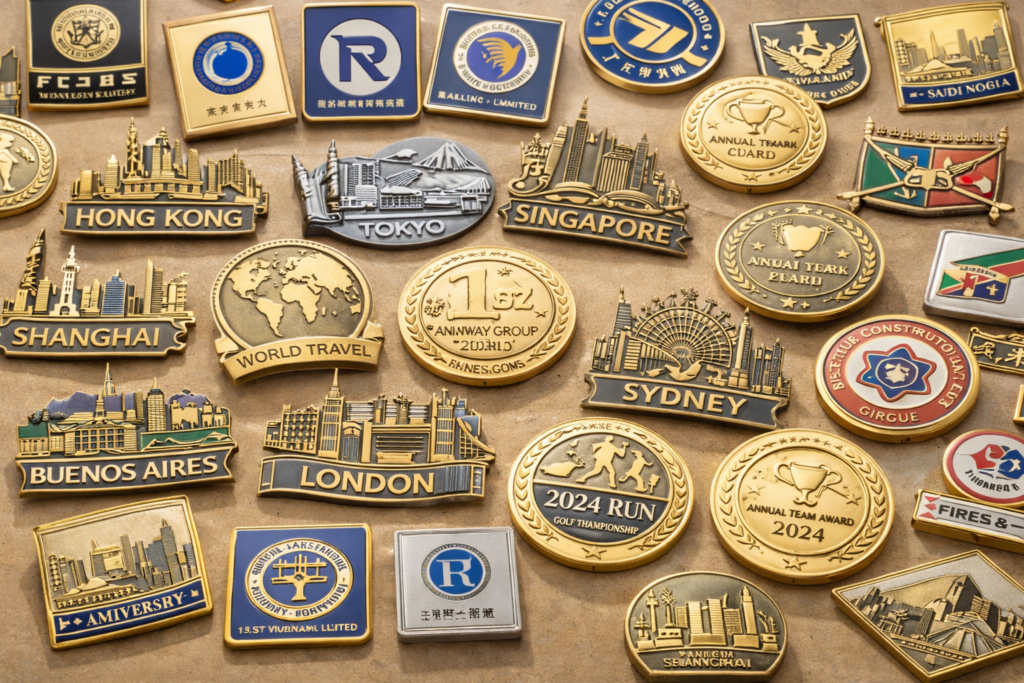
Real-World Use Cases
Our custom metal badges have been used by clients across diverse industries — corporate branding programs, military and police units, sports clubs, educational institutions, religious organizations, music festivals, and souvenir retailers. Common applications include employee recognition awards, fan merchandise, fundraising campaigns, conference giveaways, and limited-edition collector series.
TODO (Business team to complete): Add 3-5 real customer testimonials with company names, project photos, and project scale (units produced, design complexity, delivery timeline). Reference actual orders from CRM/order history.
Frequently Asked Questions
For additional questions about MOQ, lead times, shipping, payment terms, and material options, please visit our complete FAQ page. For specific design consultations, contact our team via the contact page or WhatsApp +86 13480251761.